Where to Learn Photoshop for Free in 2020?
By John Negoita on Tuesday, Apr 28, 2020
The absolute best way to learn Photoshop for free in 2020 is still through Photoshop tutorials. Practice these tutorials, use and create Photoshop resources and you will likely become a master of Adobe Photoshop.
But, where to get free Photoshop tutorials? And even more, where to get easy Photoshop tutorials that are high quality?
The internet is full of dead weight.
As a graphic designer and Photoshop tutorial author myself, I gathered quite a list of friends and places where I go when trying to find high quality free Photoshop tutorials and resources.
Today, I will share that list with you.
Free Photoshop Tutorials for Beginners & Advanced
If you are a Photoshop beginner and you want to learn Photoshop (for free or not) it’s very important to choose a good teacher.
Here’s my list of websites from where to learn Photoshop for free if you are a beginner.
These are all sites tried and tested by me.
They have high quality content that is perfect for Photoshop projects being photo editing, photo manipulations, drawings, product design, etc.
Please note that most of these websites have a category called Basics and that’s where you should start if you are a beginner.
1. PSD Dude - Photoshop Tutorials & Resources
You can start with these excellent free Photoshop beginners tutorials and move on to the more advanced tutorials. For example, if you want to learn things like how to draw a line in Photoshop, PSDDude is the place to go.
Also the free Photoshop actions that you can download are a must, PSDDude Photoshop actions are really high quality.
I should also mention the PSDDude YouTube channel which has some wonderful tutorials for beginners.
2. PHLEARN - Free Photoshop Tutorials
Phlearn has one of the best (if not the best) Photoshop tutorials YouTube channel with tons of Photoshop tutorials for every level.
With over 1.7 million subscribers, Phlearn tutorials are absolutely awesome.
3. PSD Box - Photoshop Tutorials for Pros & Beginners
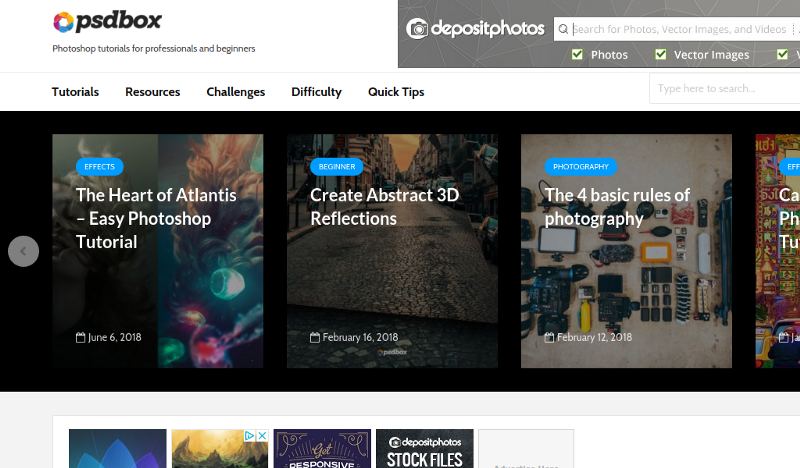
PSD Box is a very talented graphic design artist and has lots of tutorials on his site.
Some of the tutorials are for advanced Photoshop users, but you can also learn Photoshop tricks as a beginner.
4. Spoon Graphics - Sharing Photoshop Tutorials, Resources & Inspiration
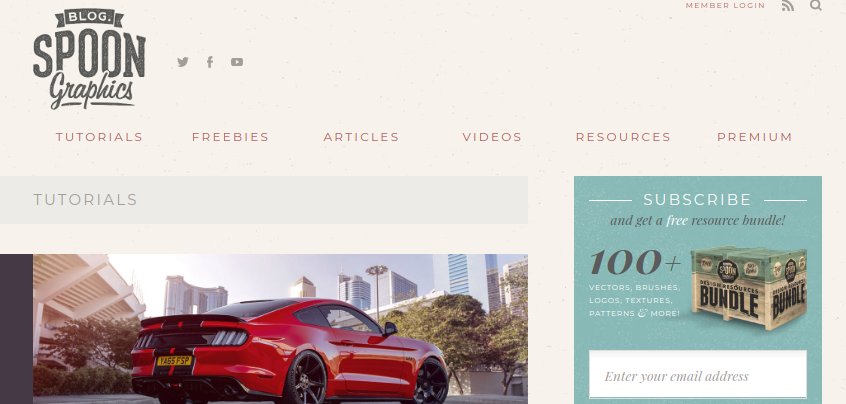
Great Photoshop tutorials with a British twist.
Spoon Graphics is home to a range of design tutorials, free resources and inspiration to help you have fun creating cool stuff!
BONUS: Free Photoshop Resources
Practice these Photoshop tutorials and you will learn Photoshop for free. How about some graphic assets to use in your designs?
As a bonus for this list I though I’d share a few great sources for free Photoshop resources like:
- Free Photoshop Brushes
- Free Photoshop Actions
- Free Photoshop Layer Styles
- Free Photoshop Textures
- Free PSD Mockups
1. Photoshop Supply - Free Photoshop Resources For Graphic Designers
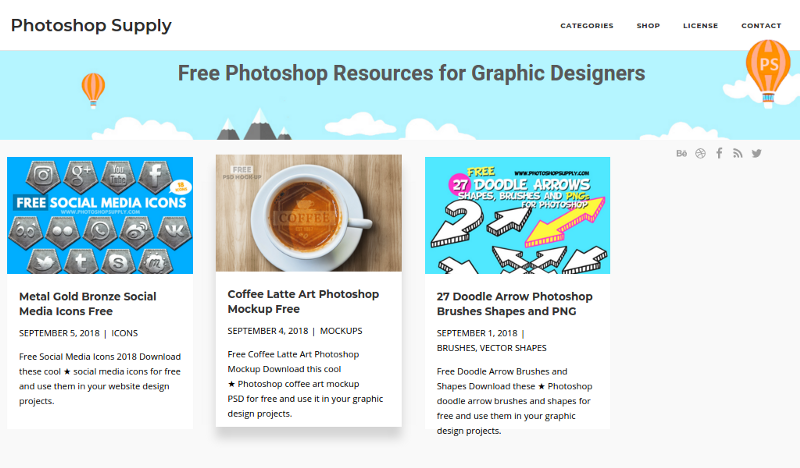
The PhotoshopSupply.com website is relatively new, but it should get your attention really fast. They have a crisp and fresh feel, and they give all their Photoshop resources for free.
This site provides top quality free Photoshop resources for graphic designers. I would pay special attention to their free Photoshop mockups section, but also the free Photoshop brushes, free Photoshop actions, free PSD patterns and templates, free vector shapes and free brushes.
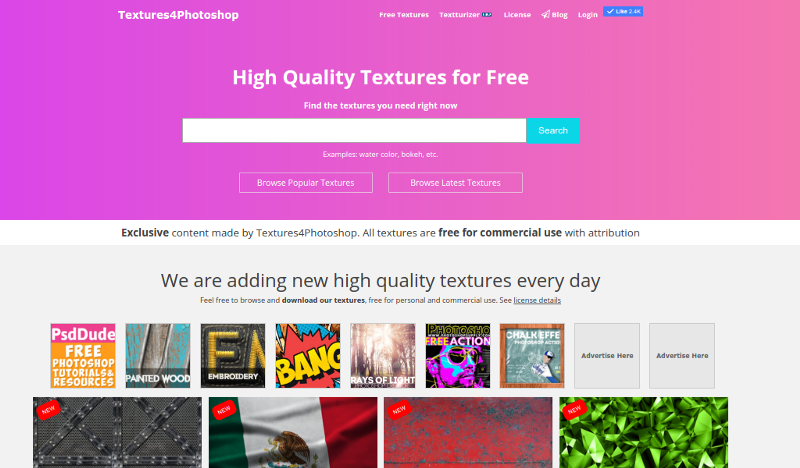
2. Textures4Photoshop - High Quality Textures for Free
Trust me:
As a graphics designer you will never have too many textures, images and backgrounds.
When creating Photoshop effects it’s always useful to combine various textures or images to get the effect you want. But, it’s not always easy to find the textures you need.
Check out the Textures4Photoshop database of high quality textures & images that you can download for free.
I simply love this website, it has tons of free and awesome textures that you will not find anywhere else.
All textures are unique and very well crafted. The site contains not only free Photoshop textures, but also patterns (seamless and non-seamless).
Another thing is the amazing tool called Textturizer, which is an online text effect generator that is pretty unique. It has lots of text effect presets, but you can also customize it and use in combination the free Photoshop textures available on the website.
Conclusion
You can learn Photoshop for free.
Keep this list close and visit the sites and you will get better with Photoshop.
If you found this list useful, please feel free to share it through your websites, blogs, Facebook, Twitter, email and more…
Featured Photoshop Tutorials
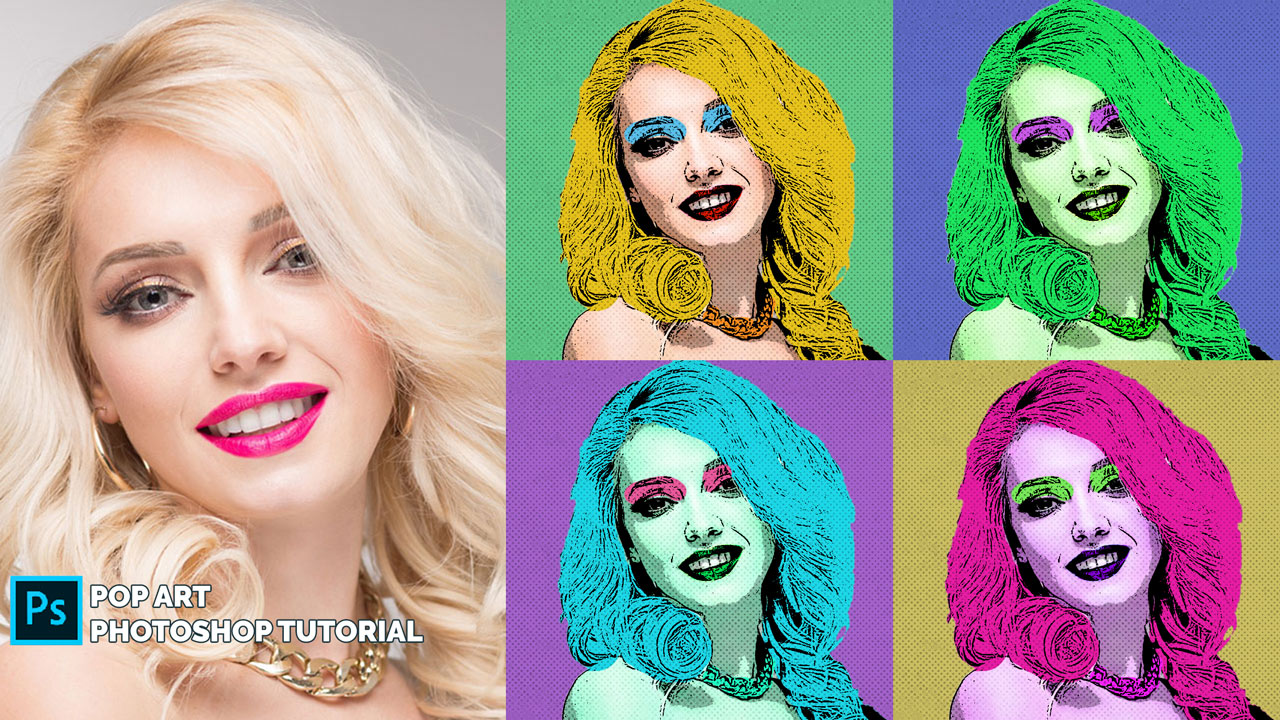
Pop Art Photoshop Tutorial